This guide explores the history, methods, and creative possibilities of nerikomi pottery; offering insights into its mesmerizing marbled designs and providing practical tips for creating your own nerikomi ceramics.
What is Nerikomi?
Nerikomi (練り込み) is a Japanese pottery technique used for creating intricately patterned polychrome clay artworks. In contrast to other popular pottery methods – which typically decorate the surface of the clay by means of glazing or painted motifs – the nerikomi technique establishes patterns deep within the clay itself. In skilled hands, this method can produce an incredible array of designs – both abstract and pictorial. However, nerikomi is typically described as a form of “marbleizing,” and at its most basic level the results do indeed resemble marble.
How Does Nerikomi Work?
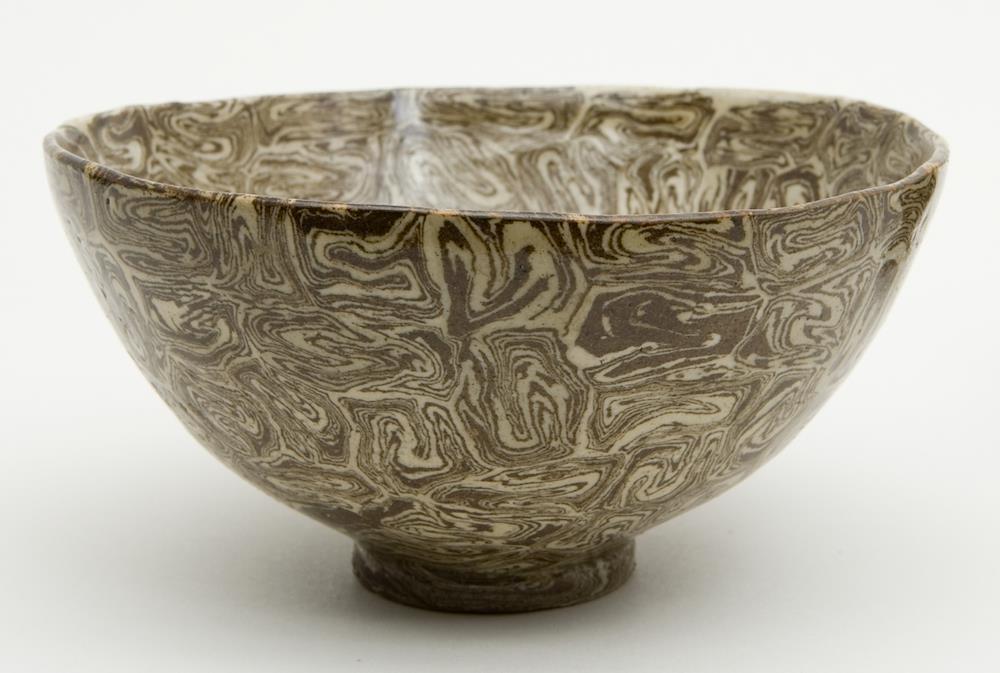
In order to create a nerikomi piece, a potter will first blend – or rather knead (which is roughly what the word nerikomi translates as) – different colored clays into a long “cane” or “loaf.” The aim being to create a consistent pattern running lengthwise throughout the clay, like wood grain. The potter then cuts the loaf into slices, and uses these pieces to build up a patterned vessel. Imagine building a wall, not out of bricks but from multiple slices of marble cake, and you’ve probably got a pretty good idea as to how nerikomi works.
What Is The Nerikomi Technique Typically Used For?

The uses of nerikomi in pottery and ceramics are diverse. The technique can be used to make plates, bowls, cups, jugs, jars, vases, or indeed any other kind of vessel you can think of. Beyond these largely practical items, though, nerikomi is also often employed in producing more decorative, expressive, whimsical, or even quite abstract items, such as ceramic scale-models, figurines, sculptures, and even jewelry.

The History and Origins of Nerikomi
Although often pitched as “the ancient Japanese art of nerikomi,” this description isn’t entirely accurate and the history of nerikomi is actually a little more complex. In fact, while nerikomi is indeed a Japanese word, the technique certainly is ancient, and the results can often be considered art, strictly speaking, clay marbling did not originate in Japan. What’s more, although these techniques have been known to Japanese ceramicists for a long time, the term nerikomi only really became widely known in the country during the 1970s – thanks, of all things, to a commercial for instant coffee in which nerikomi potter Yusuke Aida appeared.
Prior to sponsorship by an internationally-known brand of powdered coffee, however, marbling techniques were found as far back as ancient Egypt, Rome, and China. They also became widely adopted in 18th Century England. Nonetheless, just as with many other crafts that have been imported into Japan, Japanese artisans have made clay marbling techniques fully their own – elevating the art to staggering levels of intricacy. And while nerikomi-like ceramics can now be found all around the world, Japanese ceramicists dominate the ranks of nerikomi’s finest practitioners.
What Isn't Nerikomi?
Nerikomi vs Neriage
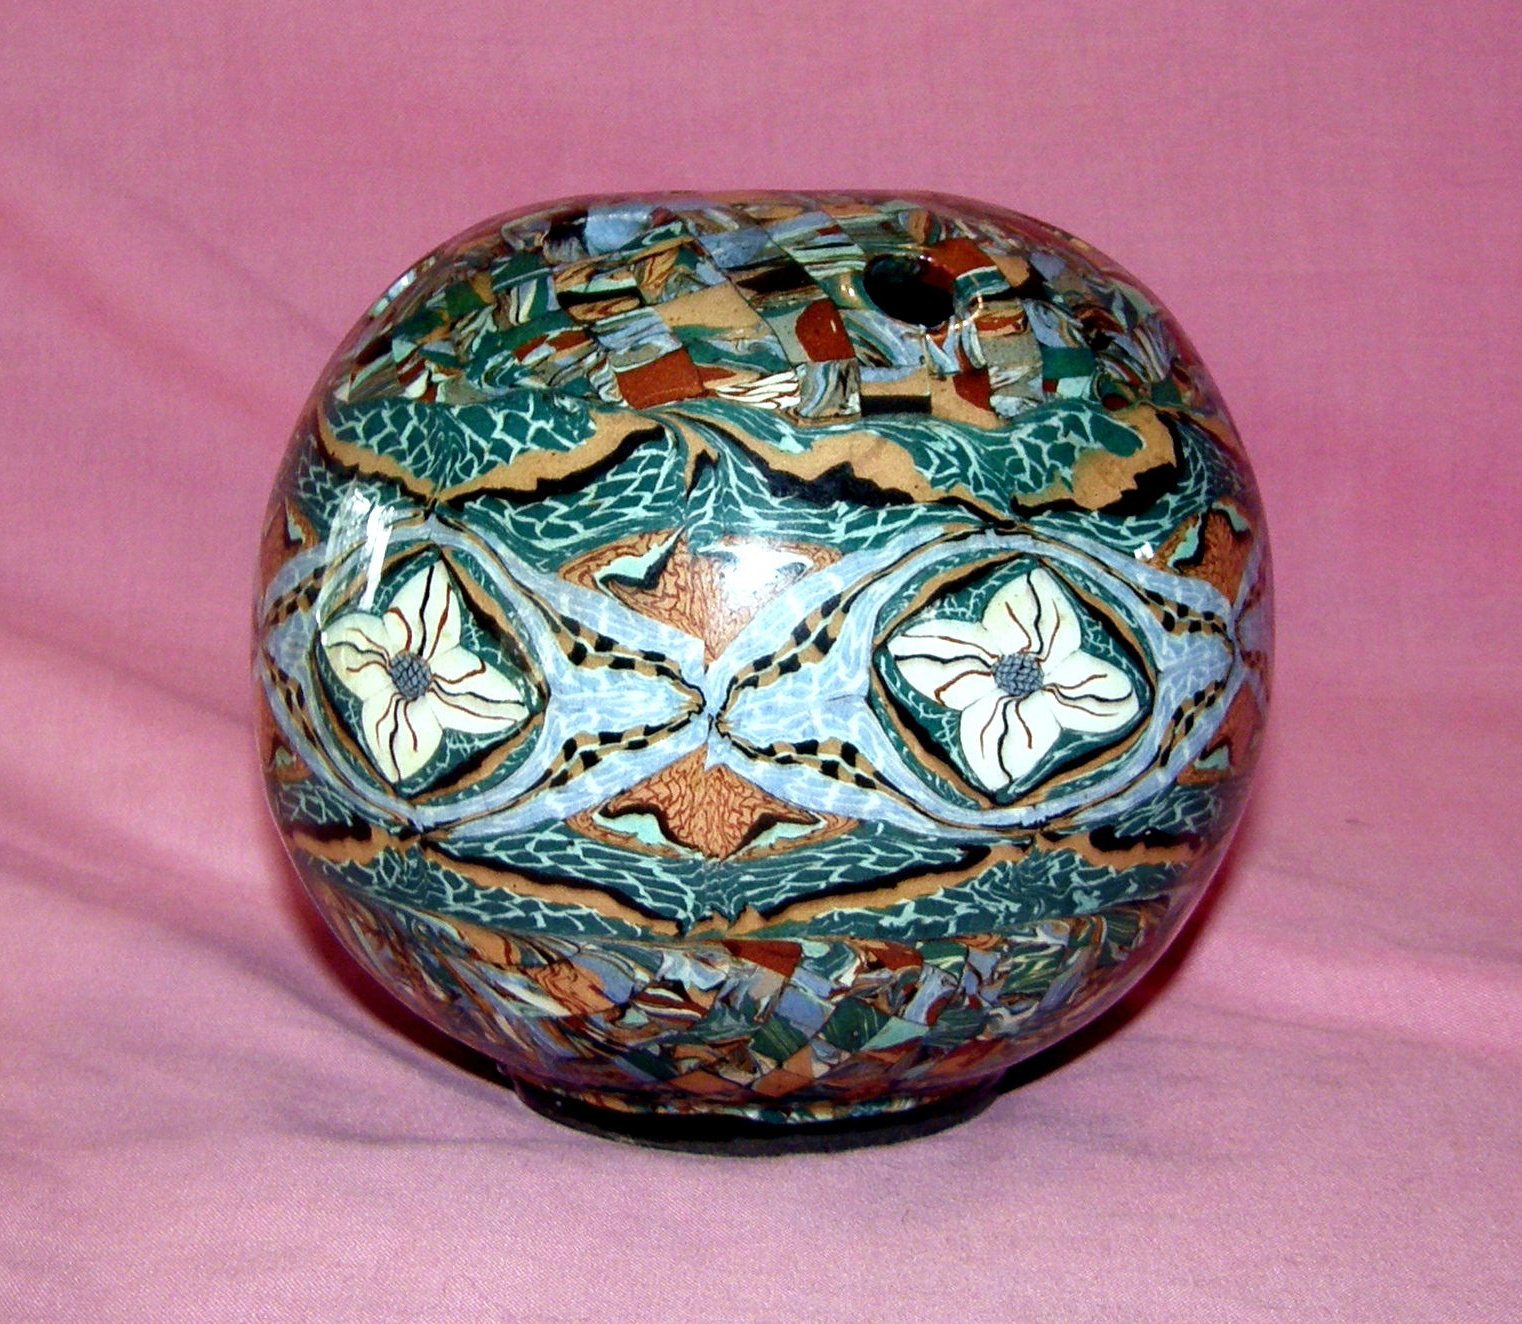
By now you’ve likely got a rough grasp of what the nerikomi technique is and where it comes from. But you will often come across ceramics that look just like nerikomi referred to as neriage, too. Are nerikomi and neriage the same thing?
Technically, the answer is no: neriage is thrown on a potter’s wheel, while nerikomi is hand-built (for a clear explanation of the differences between the techniques, see here). In common speech, however, the terms neriage and nerikomi are often used interchangeably to mean the same thing. While this might enrage purists, it’s actually quite understandable from the end-consumer’s point of view. Indeed, although the methods of construction of neriage and nerikomi differ significantly, to the untrained eye at least, the end results frequently do not.
Nerikomi vs Agateware

Another term you’ll often see is agateware. If pronounced “ah-ga-tei-wa-rei” this word could easily pass for Japanese. It’s not Japanese though, it’s English. And the name references natural agate quartz; the marbled patterns of which this technique often closely resembles.
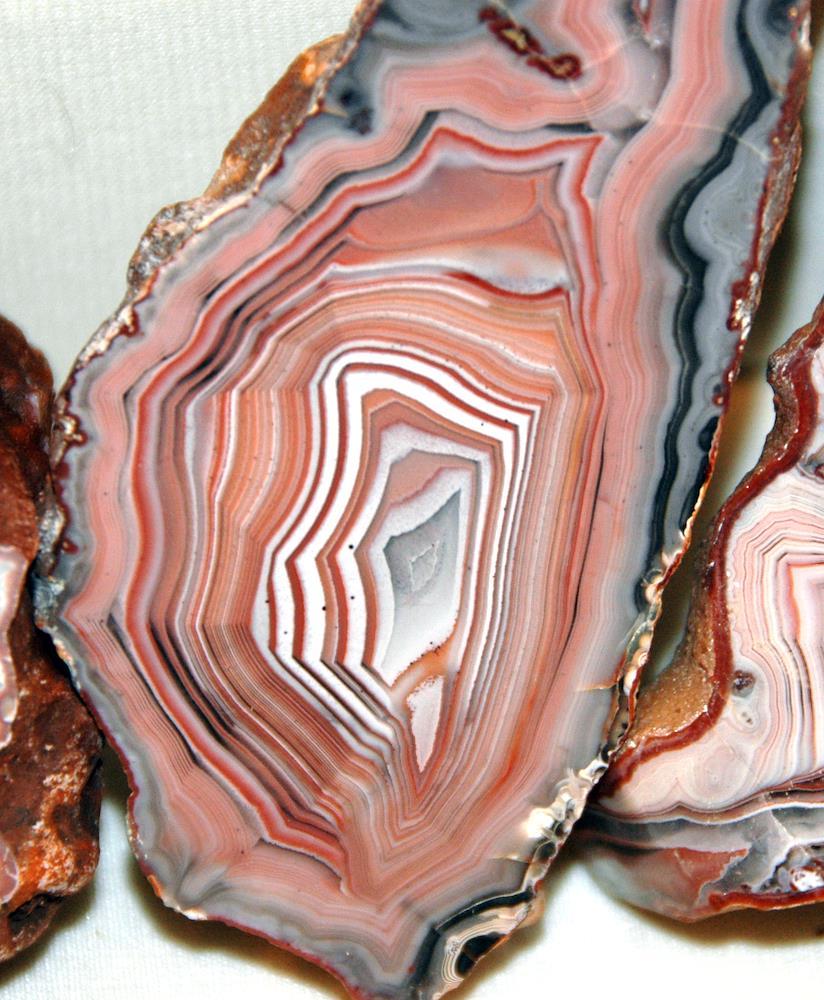
As we saw above, nerikomi specifically refers to hand-built marbled pottery, and neriage to its wheel-thrown cousin. The term agateware, however, can be used to describe items produced by either of these processes.
Agateware was developed in the early 1700s in England, where it proved very popular. Yet its production had largely died out by the end of the same century. Nonetheless, today British ceramicists are important producers of nerikomi/neriage/agateware.
Nerikomi vs Millefiori

Finally, if you’ve ever come across items labelled as millefiori (Italian for “one thousand flowers”), but thought it looked a lot like nerikomi, you were almost right. Although both the technique and the final effect of millefiori are very similar to nerikomi, the raw materials are not; millefiori is by definition glassware, not ceramic pottery.
The Nerikomi Technique in Practice: How to Make Nerikomi Pottery
Having gained a solid understanding of what nerikomi is and how the technique evolved, let’s now turn our attention to more practical matters. In this section we will provide tips for anyone looking to give marbled pottery techniques a try for themselves.
Equipment and Materials
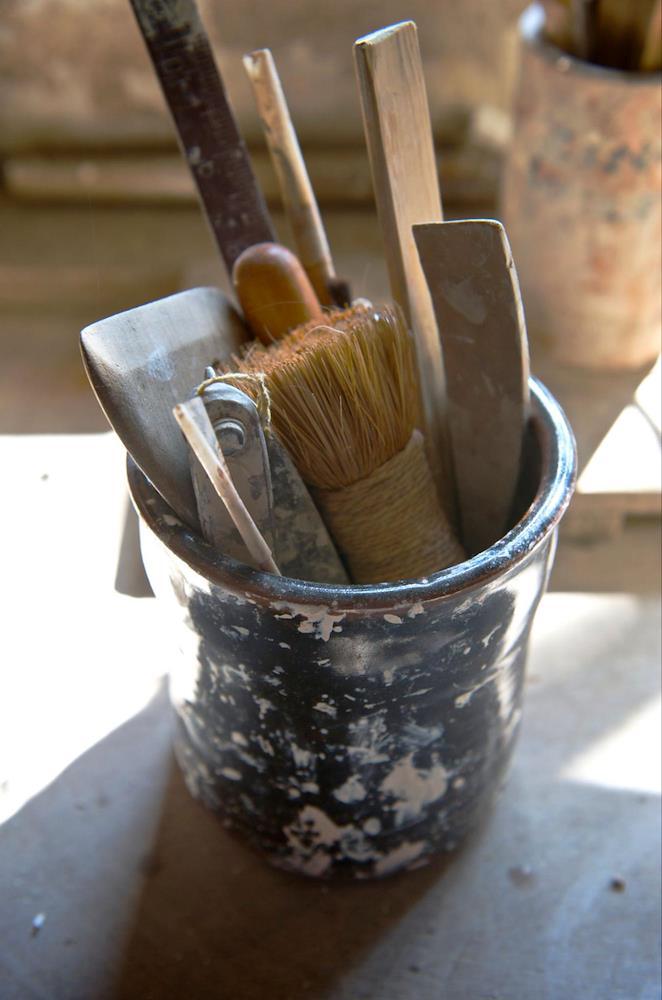
Beyond your regular ceramic-making tools, a few nerikomi-specific items that you should have to hand are as follows:
-
Shaping Tools - A miniature wooden rolling pin, a metal rib, and a wooden rib will all come in handy when forming slabs and shaping your pots or other nerikomi items.
-
Cutting Tools - To cut slabs, veneers, and other shapes, you will need a precision scalpel, a needle tool, a very fine wire cutter, and off-cuts of wood in various thicknesses for regulating the depth of cuts. It can also be handy to have a selection of cookie cutters for cutting perfect circles, ovals, and other geometric shapes.
-
Water Application Tools - A bucket, a sponge, and a brush will all be essential for hydrating the clay when joining marbled slabs and veneers.
-
Sanding Tools - In order to hide the joints, you will need a good selection of steel wool in a variety of grades: grades 1 and 0 for refining, 00 for sanding, and 000 and 0000 for eliminating all sanding marks.
-
Breathing Mask - Clay colorants can be dangerous to inhale. Be sure to wear suitable breathing protection when handling toxic stains and while sanding the finished clay.
-
Clays, Colorants, and Glazes - Most people produce nerikomi using porcelain or stoneware clays, adding colorants such as Mason stains to give the clays different hues. The advantage of using a single white base clay and adding stains to produce chromatic variations, is that this method ensures total compatibility when it comes to firing the different colored clays.
However, it is also possible to produce nerikomi without the addition of mineral or chemical stains, by using a variety of natural-colored clays instead. In this case, though, it is essential that all the different clays have the same shrinkage rates and firing temperatures.
As nerikomi designs are typically rather busy, many ceramicists choose not to glaze their works – opting instead for a natural matte finish that allows the multicolored patterns within the clay to speak for themselves. With that said, glazes for nerikomi are certainly worth exploring. And even a well-chosen clear glaze can really bring out the colors and patterns in a marbled design. It all depends on the artist’s intention.
Designing Nerikomi Patterns
The complexity and originality of patterns produced by nerikomi masters is truly impressive. As an example, take a look at the intricate patterns – many reminiscent of ikat textiles – produced by Ichiro Kato. Marbled patterns need not be geometric nor abstract, though; as demonstrated by the amazing flower-themed jars, vases, and incense burners created by Living National Treasure artist Sekisui Ito V.
The process of designing patterns for nerikomi pottery typically begins by forming marbled clay canes or loaves. To do this, colored clays are layered, rolled, twisted, and compressed to form a compact block that contains the desired pattern running its entire length. As this initial step sets the foundation for the final design, it’s essential that you carefully control the interplay of colors here.
A wide variety of patterns can be achieved, ranging from bold stripes and swirling marbles to intricate checkerboards or free-form abstract designs. Creating stripes involves stacking and flattening clay layers, while swirls can be created by twisting layers together. Checkerboards require precise layering and slicing to maintain symmetry.
To reveal patterns, the clay loaf is sliced into thin slabs, exposing the designs embedded within. These slabs can then be reassembled, rotated, or arranged to enhance or evolve the pattern further. Layering multiple patterned slabs offers even more creative possibilities. The final pattern is influenced by a number of factors, including the differing proportions of colored clays used, the technique and intensity of kneading, and the amount of pressure applied when building the vessel and shaping its walls.
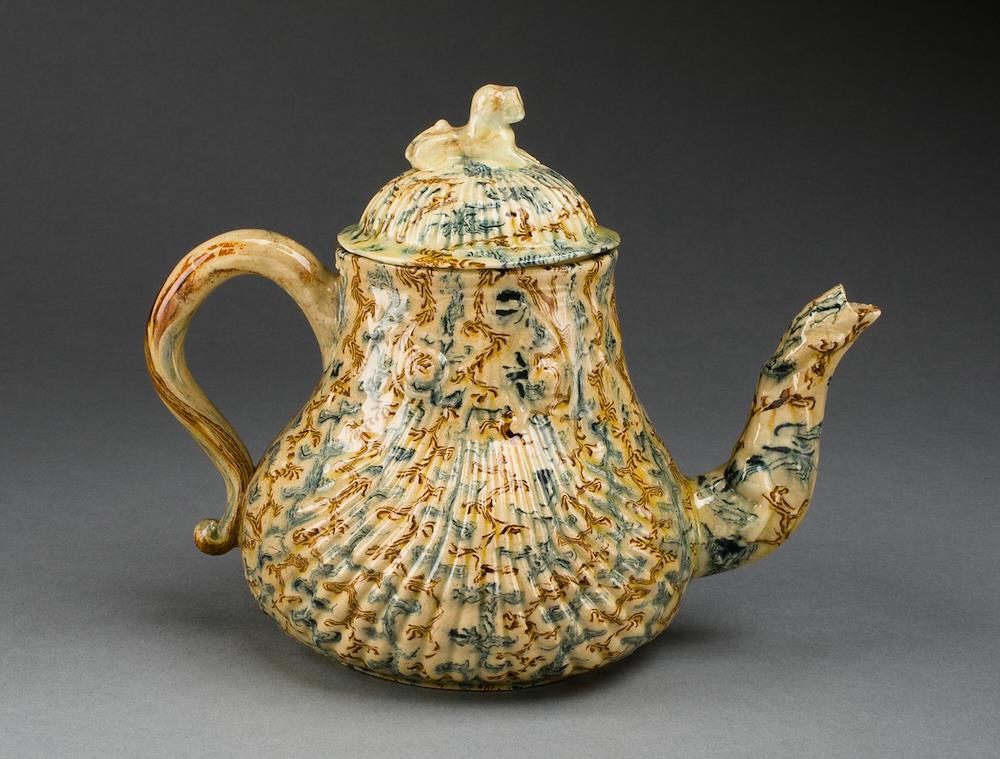
One of the key features you’ll often see in very advanced nerikomi pieces is the clever synchronization of the marbled patterns with the texture or form of the vessel itself. I.e. 2D marbling precisely coinciding with 3D surfaces that are geometric, multi-faceted, wrinkled, ridged or even spiked – creating an exciting form of op-art or a trompe-l’oeil effect.
When experimenting with nerikomi patterns, try balancing symmetry and asymmetry for visual interest. Additionally, complementary or contrasting color combinations can add real depth and vibrancy to the design. The key to success here is, firstly a willingness to experiment with new ideas, techniques, and materials, but also developing a high degree of patience.
Hand-Building Nerikomi Pottery
To construct a nerikomi pottery piece, start by cutting slabs from a patterned clay loaf using a wire and two equally-sized pieces of wood as guides; this will help guarantee uniform thickness. Now cut the slabs into the precise shapes needed for your desired object – such as a vessel or plate – and then carefully assemble the pieces, aligning patterns seamlessly while smoothing joints by means of shaping-tools and a wet sponge.
Be sure to pay special attention to blending the seams without distorting your designs. In order to preserve structural integrity and keep your patterns pristine, bond the clay pieces securely by lightly scoring and adding slip at connection points.
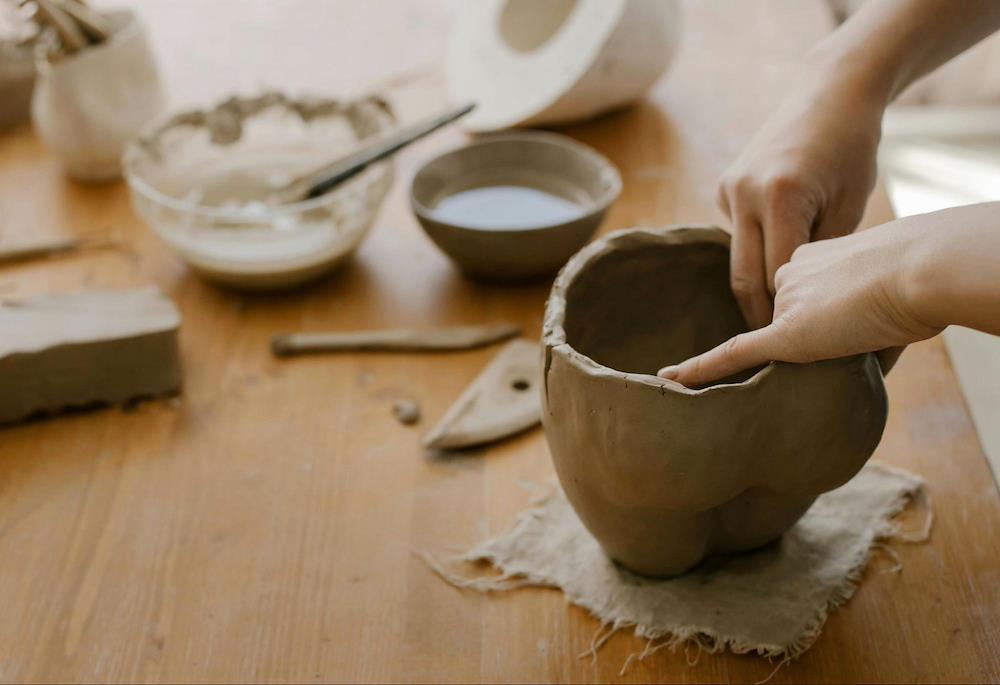
While many nerikomi artists build their pots from solid walls of marbled clay, others first construct the walls in plain clay, and later add a very thinly-sliced veneer of nerikomi marbling to the exterior.
Whichever method you choose, though, take care to maintain uniformity and prevent cracking during the shaping stage. This will help to guarantee a sturdy yet beautifully patterned creation.
Conclusion
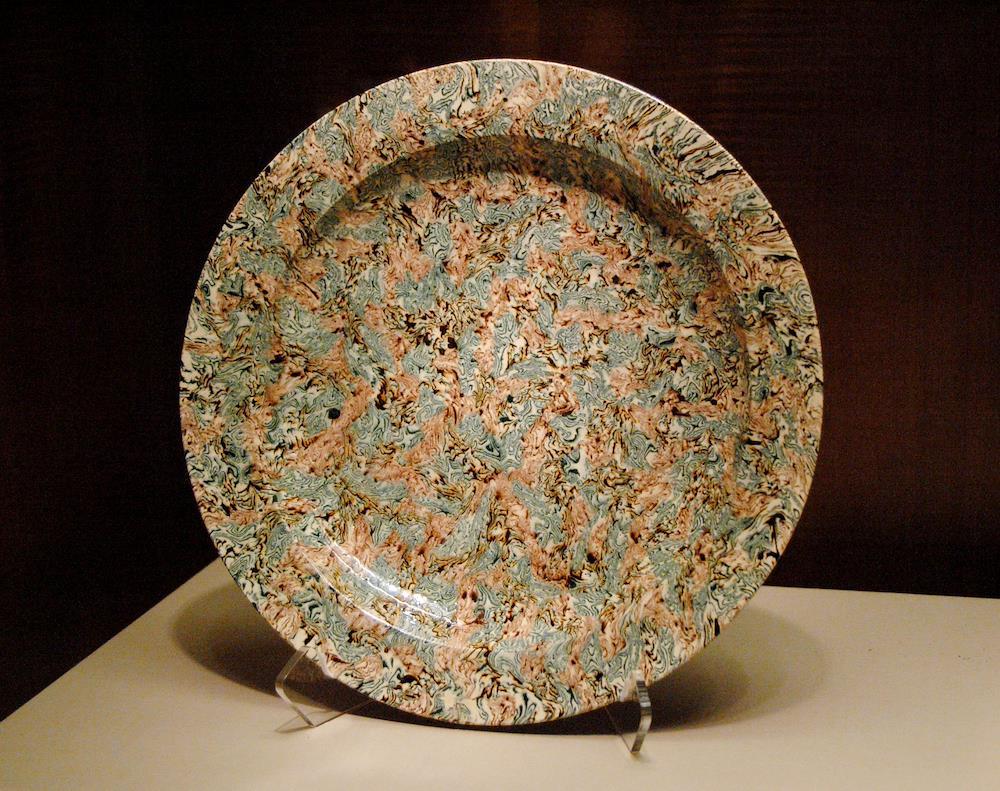
The art of nerikomi can be both wonderfully complex and exceptionally versatile. Although achieving the level of skill required to produce very advanced nerikomi pottery requires years of research, dedication, and practice, even beginner ceramicists can achieve surprisingly sophisticated results in very little time. So whether you are an experienced potter or just starting out in ceramics, we definitely encourage you to try out some nerikomi techniques for yourself.
Interested to learn more about the history, theory, and practice of Japanese pottery? Be sure to check out all the other posts in our Japanese ceramics series, starting with the A-Z of Japanese Pottery Pt. 1.
And to grab some outstanding antique or contemporary Japanese pottery for your own collection, why not take a look at this guide to all the wonderful Japanese pottery available from Minne.com via ZenMarket.